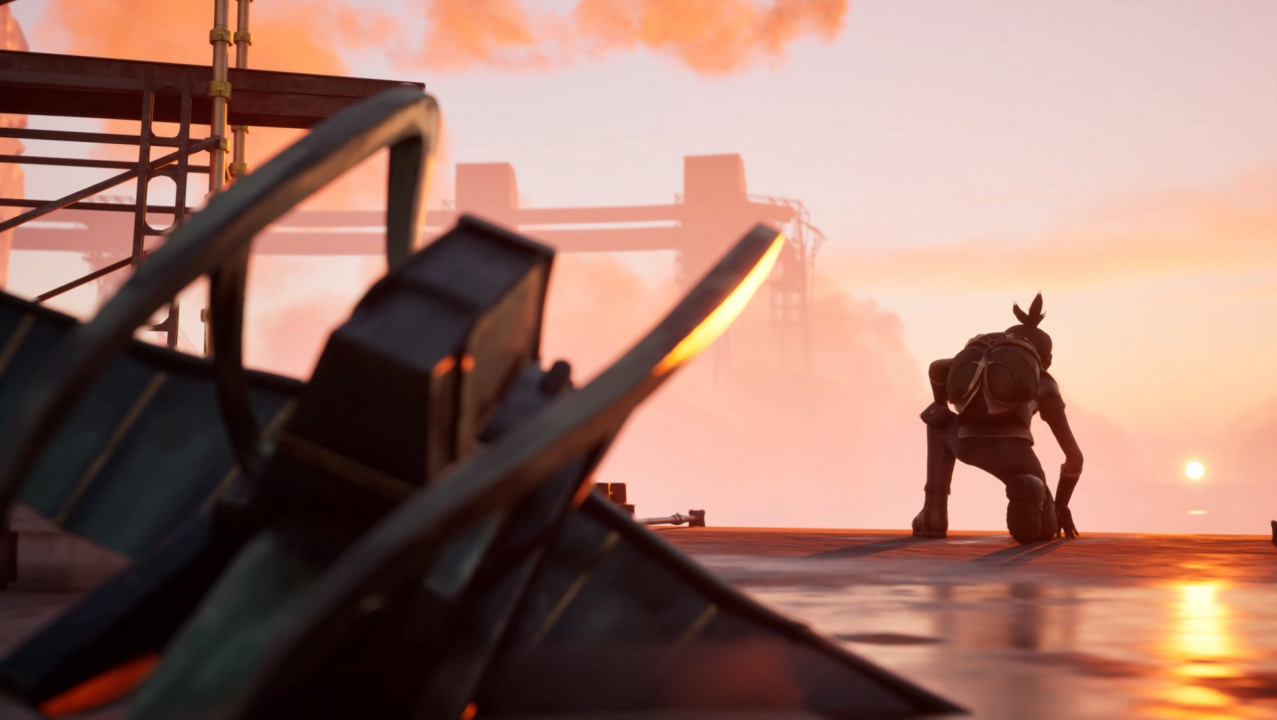

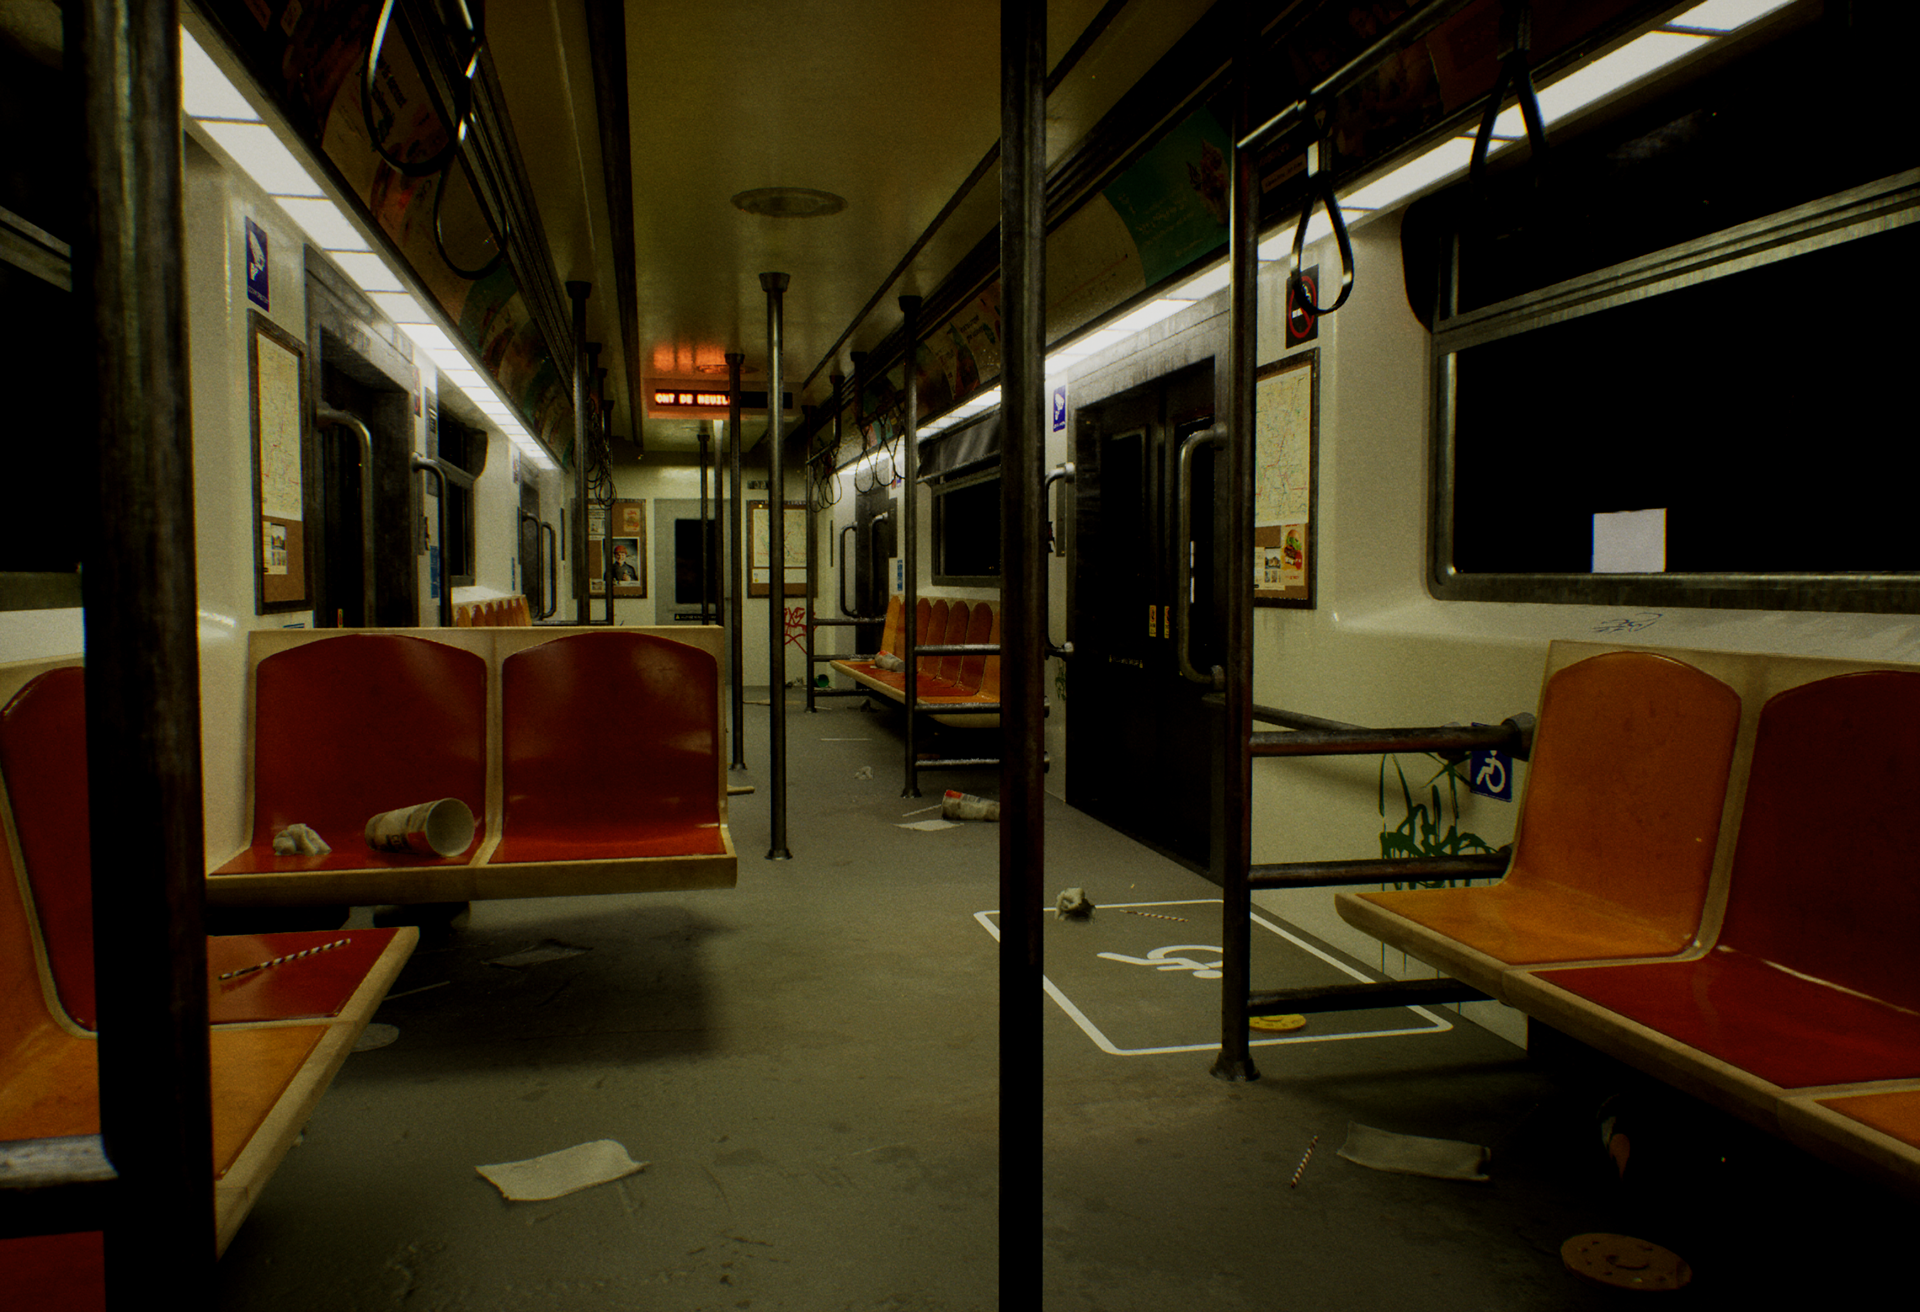
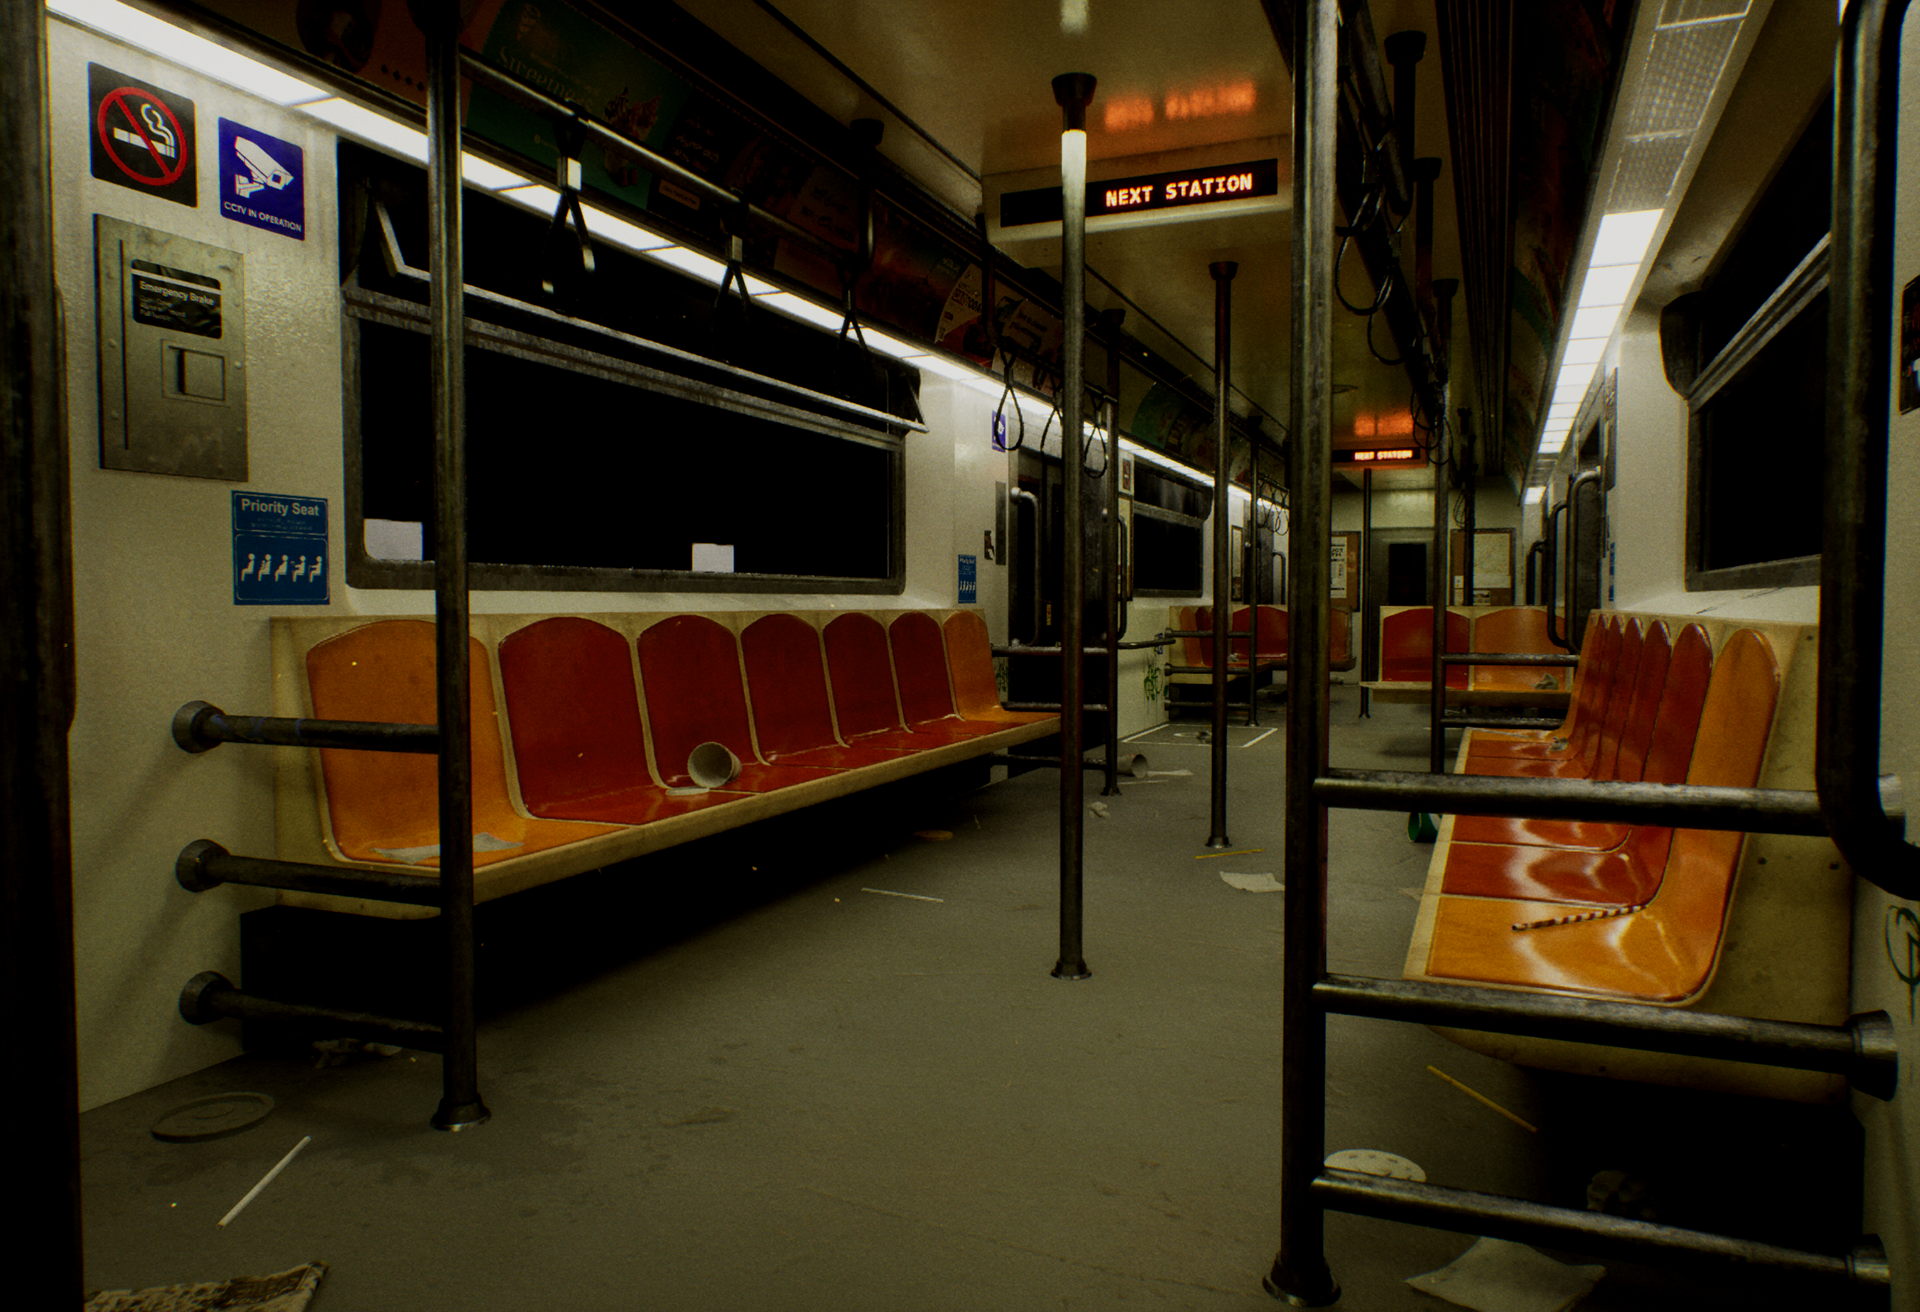
An old metro train inspired by my experience in the Paris Metro train after-hours. Going for silent horror vibes. This project is made using Unreal Engine 5.6.1, Maya 2025, and Adobe Substance Painter.
This page shows the behind-the-scenes process of creation of:
- Models and textures
- Shaders and lighting
- Animations and VFX
- Models and textures
- Shaders and lighting
- Animations and VFX

References
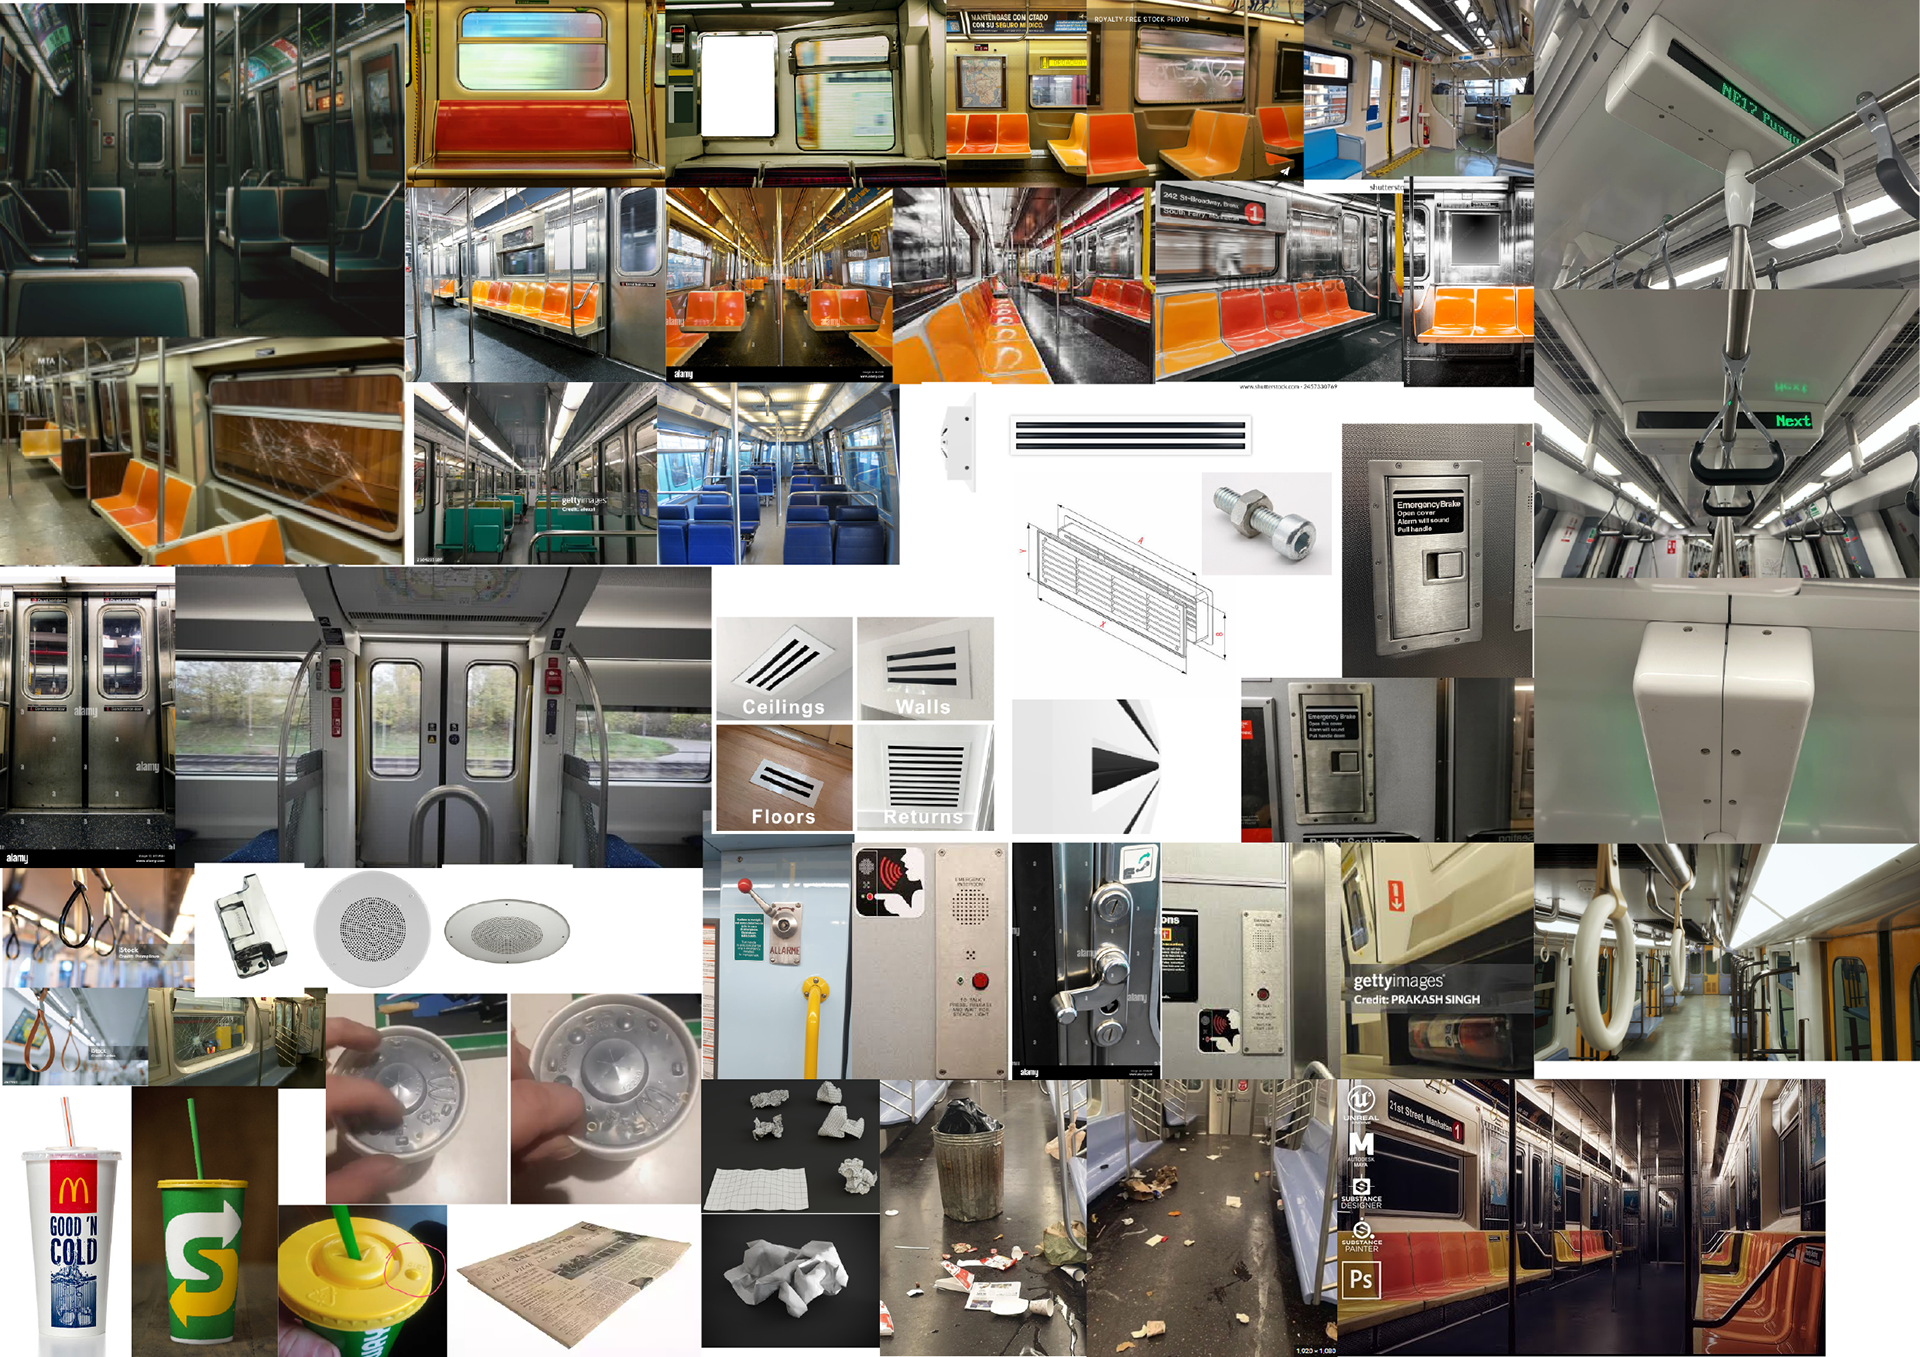
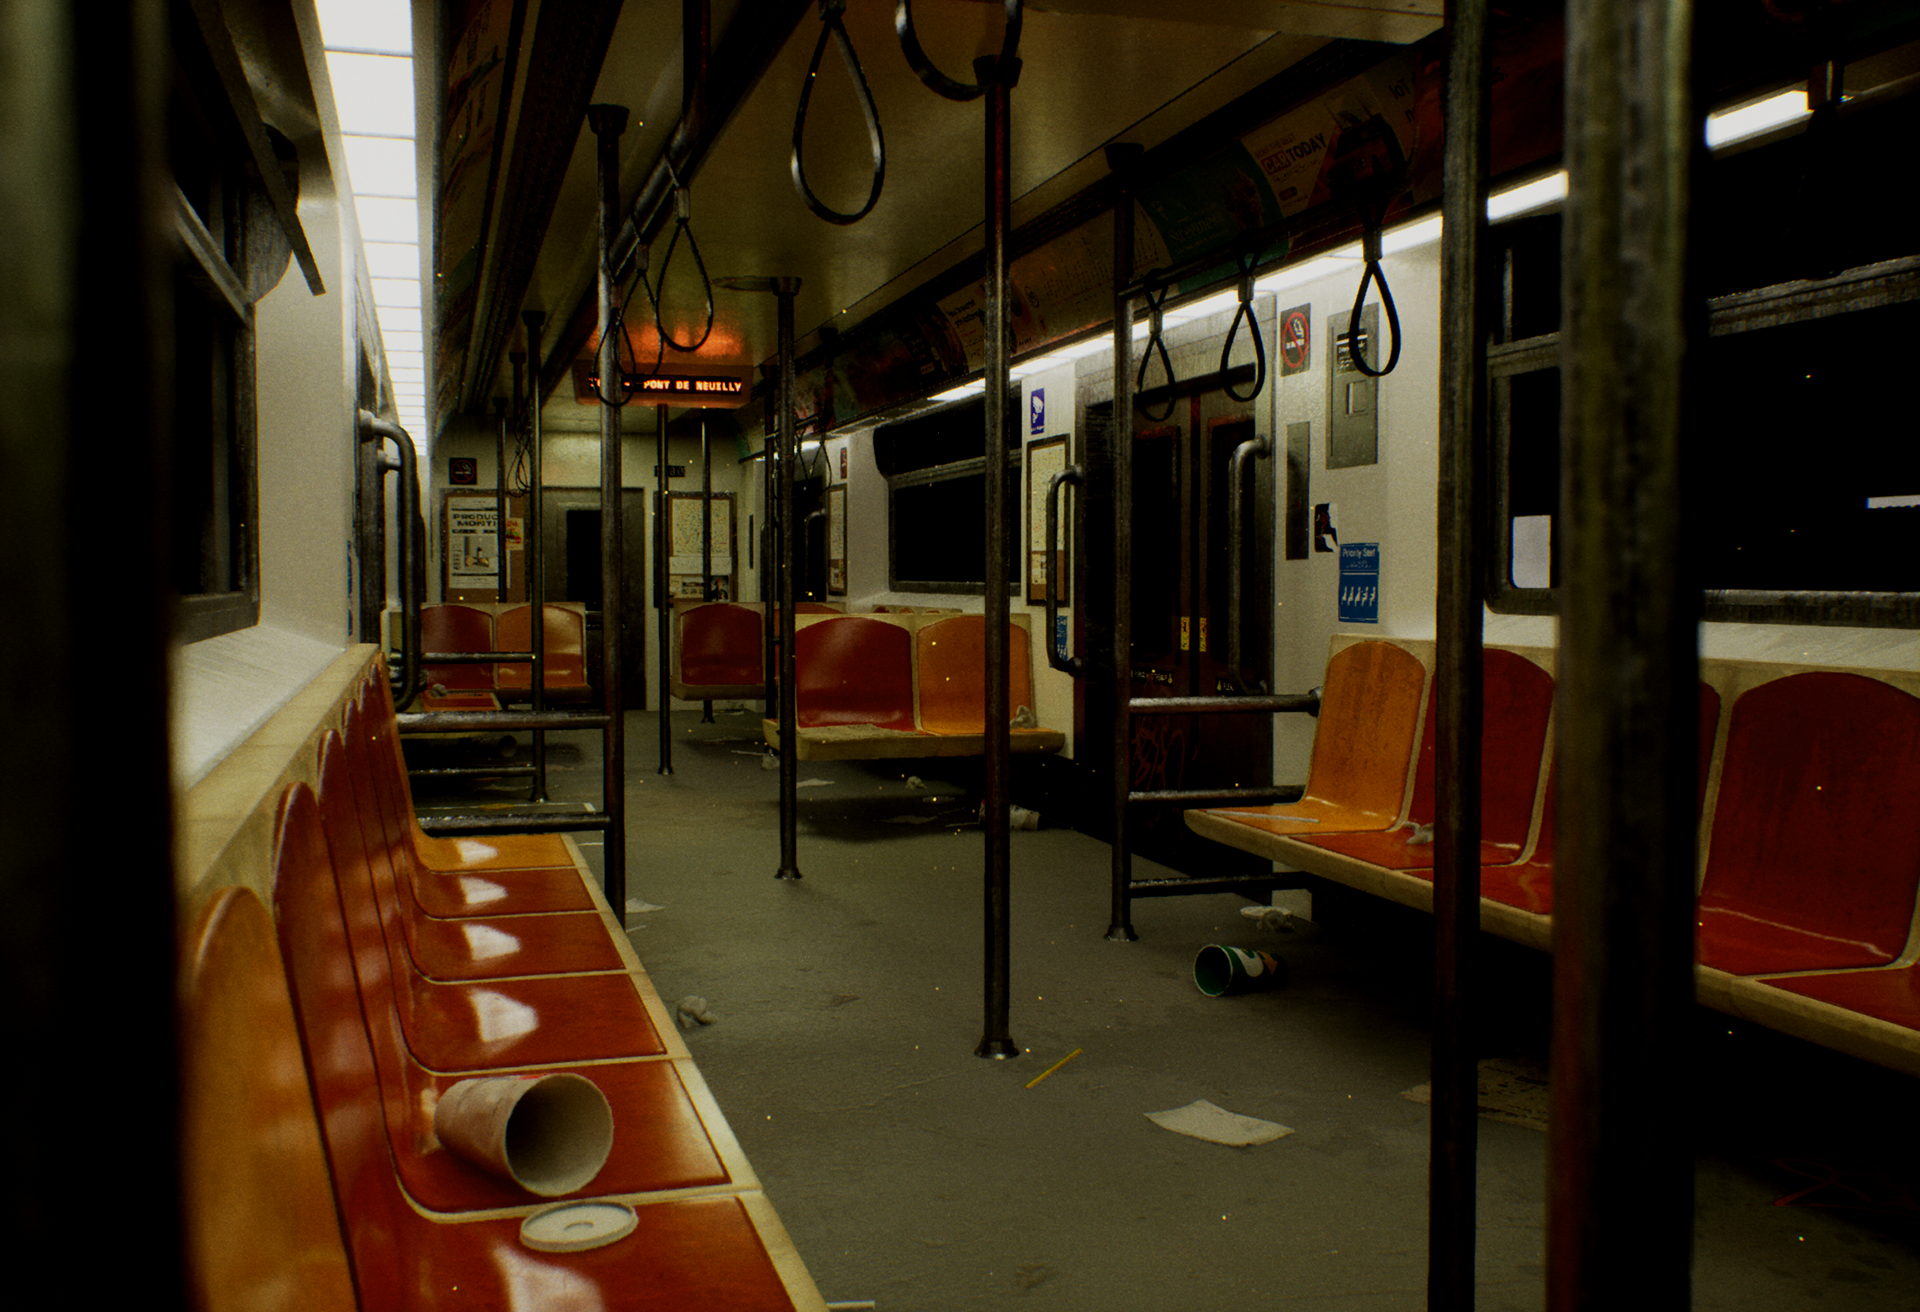
References were taken from metros worldwide to craft a carriage space that looked slightly dated, old but still functional. I wanted to make it so that you could almost smell the old stale air from the tunnel and vents.
Some metro train references were from:
- Paris Metro (vents and arrangement)
- New York Metro (seats, door and wall configuration)
- Moscow metro (window ledge designs)
- Amsterdam metro (Wall decals, emergency ledges)
Wanting to optimise the PBR materials used in Unreal Engine, I specifically sought after references for items that use the same type of metal as the train doors. I've actually gained an appreciation for train interiors after seeing so many from New York to Japan. Window designs were my favourite as it reflected the different climates that each train is in.

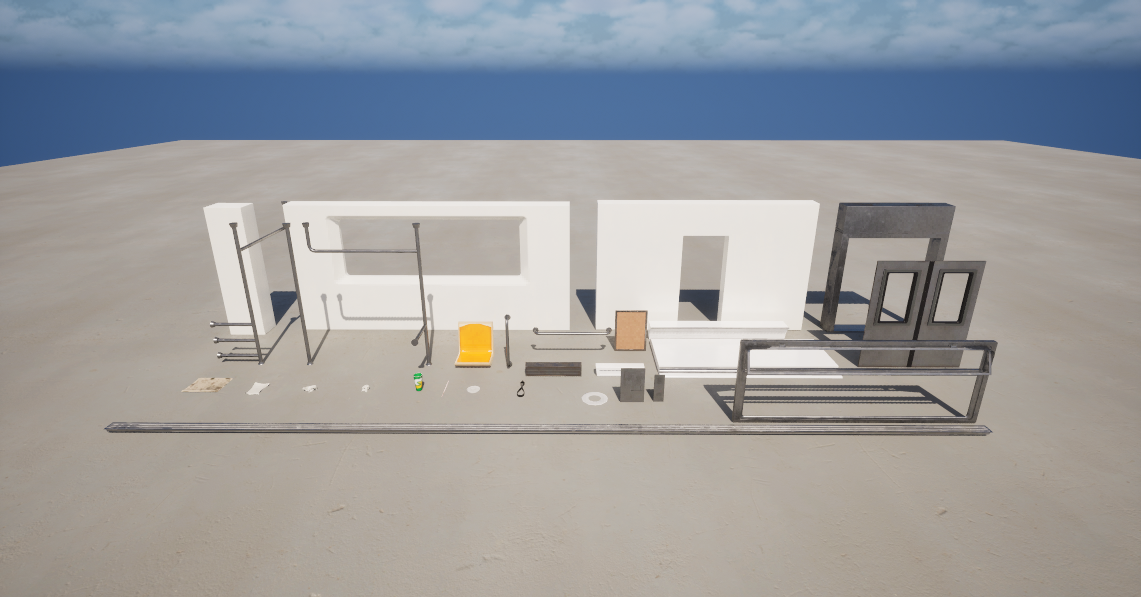
Models and textures
The resulting models were created with efficiency in mind, allowing for a variation of props with minimal models. I think that having this project be a train carriage has help trained my eye to look for ways i can fully use each model. This has freed up some time for me to fully explore the engine to my heart's content. <3
placeholder gimme a sec

Shaders and Lighting
Now for the FUN PART. There's something about the node UI that feels like LEGO blocks. I thoroughly enjoyed messing with the shader nodes to get the vibes for the scene that I was going for. The result was something that really improved the storytelling of this project without additional modeling and texturing work. It really saved me a lot of time by just making an element editable on Unreal Engine.
(I also almost blew up the school computer trying something out while watching LOL Worlds 2025.)
(Lesson learnt: don't be distracted while doing something RAM-intensive.)
(I also almost blew up the school computer trying something out while watching LOL Worlds 2025.)
(Lesson learnt: don't be distracted while doing something RAM-intensive.)
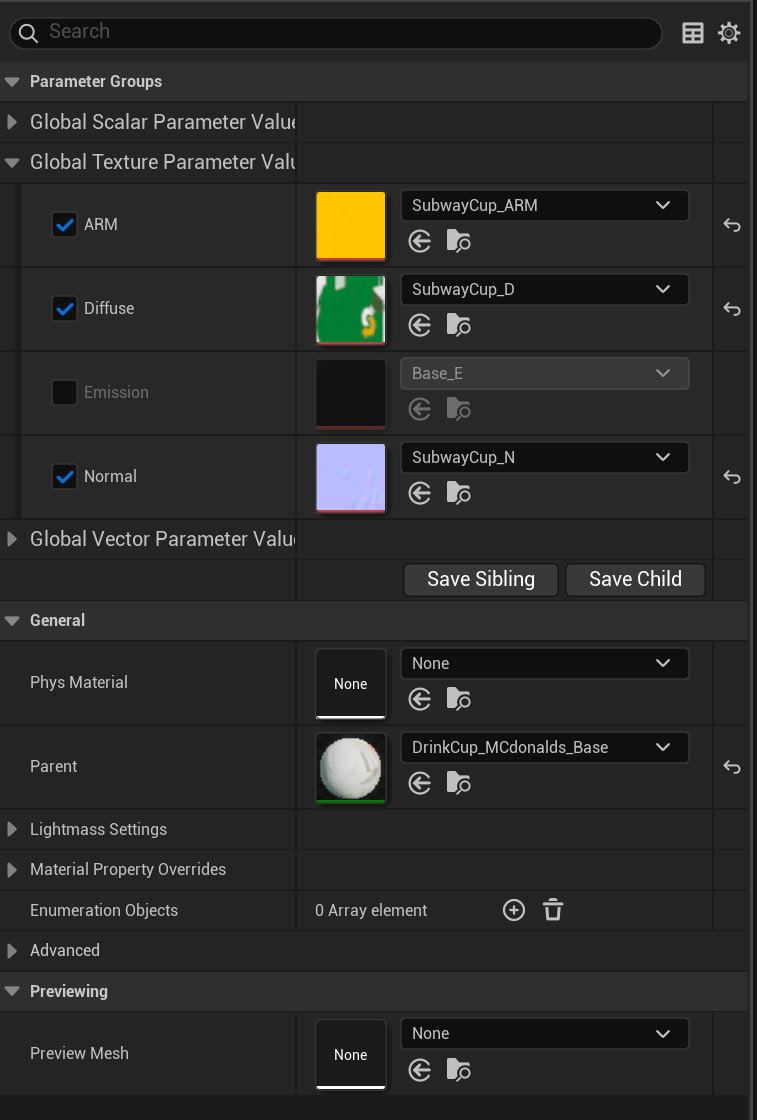
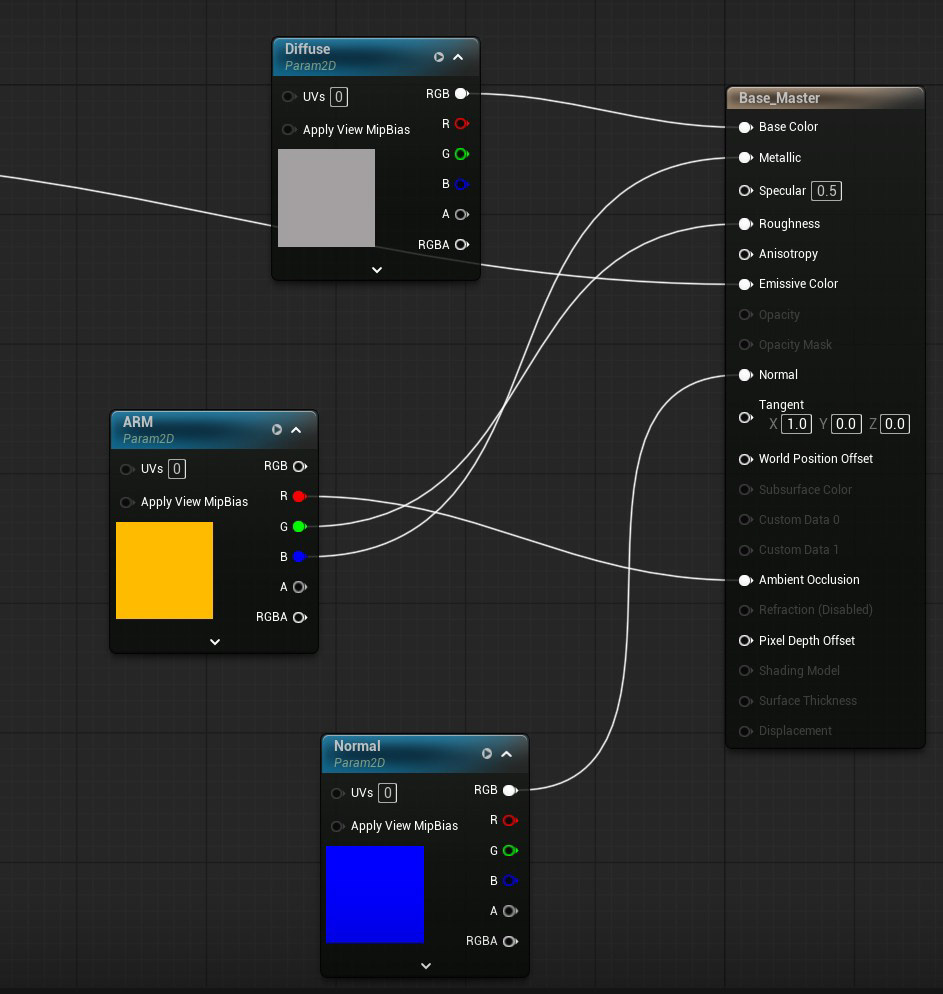
This is the base AMR (ambient, metallic, roughness) shader that was implemented in most of the assets.
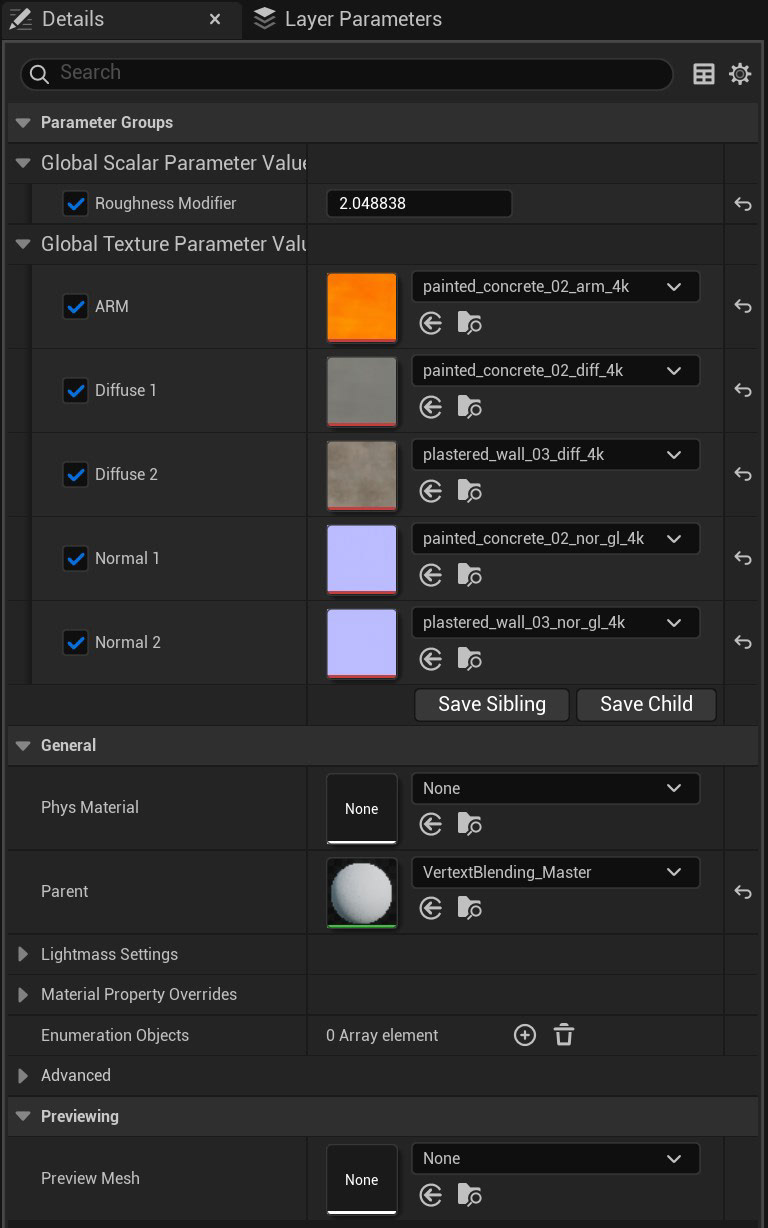
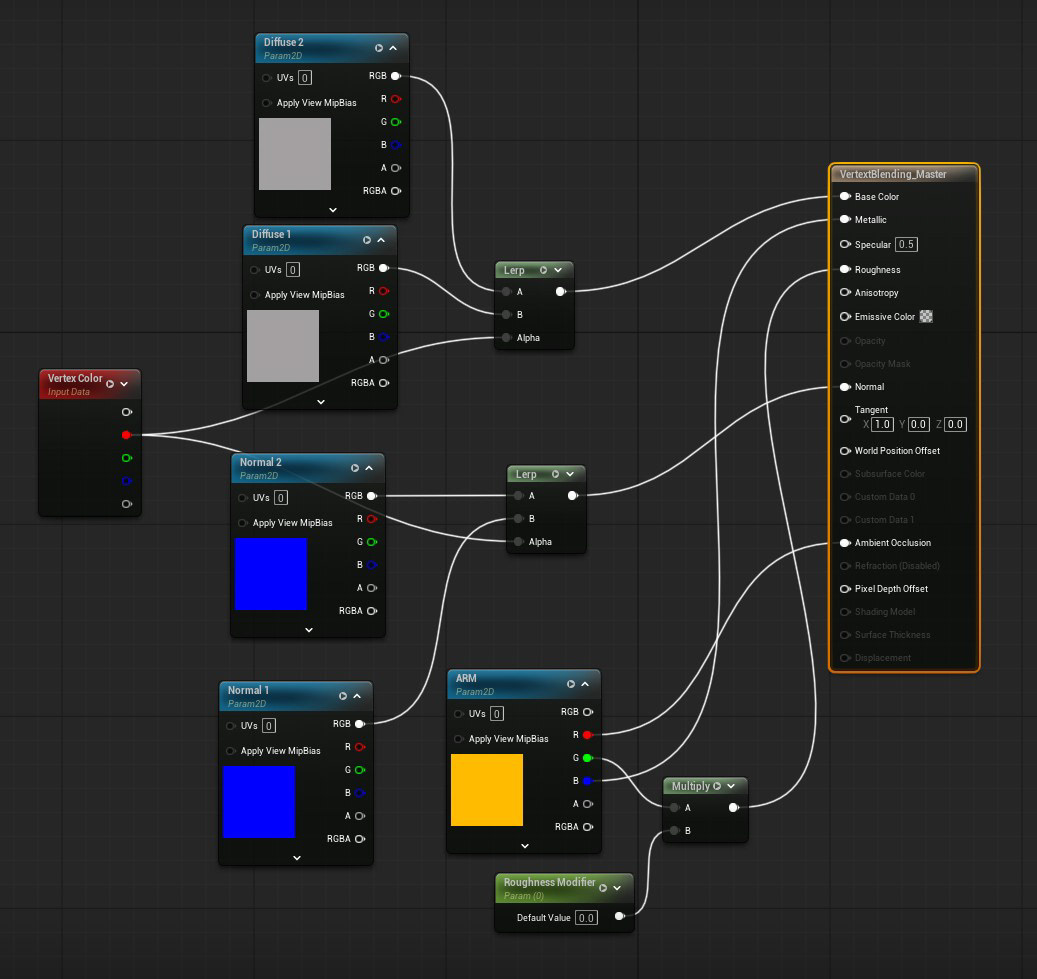
This is the vertex blending shader that allowed me to paint on my floor tiles, allowing for a less uniform concrete texture that could be felt and not seen. It uses the red channel to switch between materials.
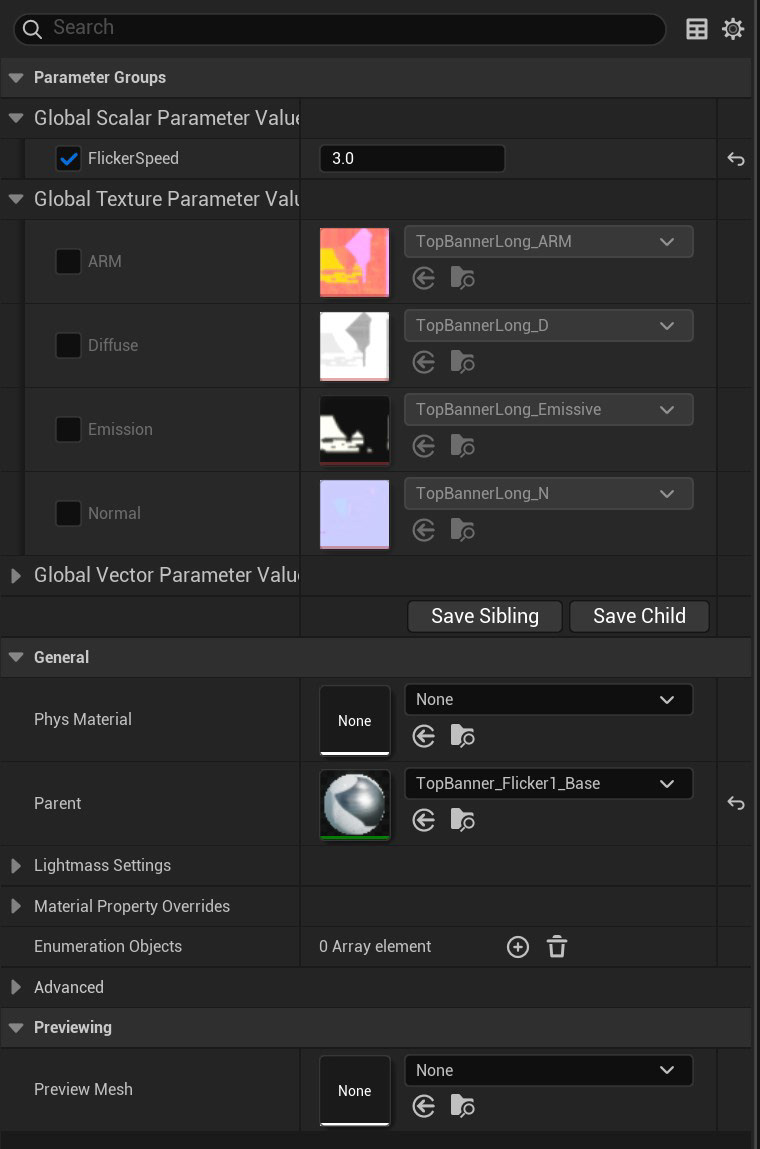
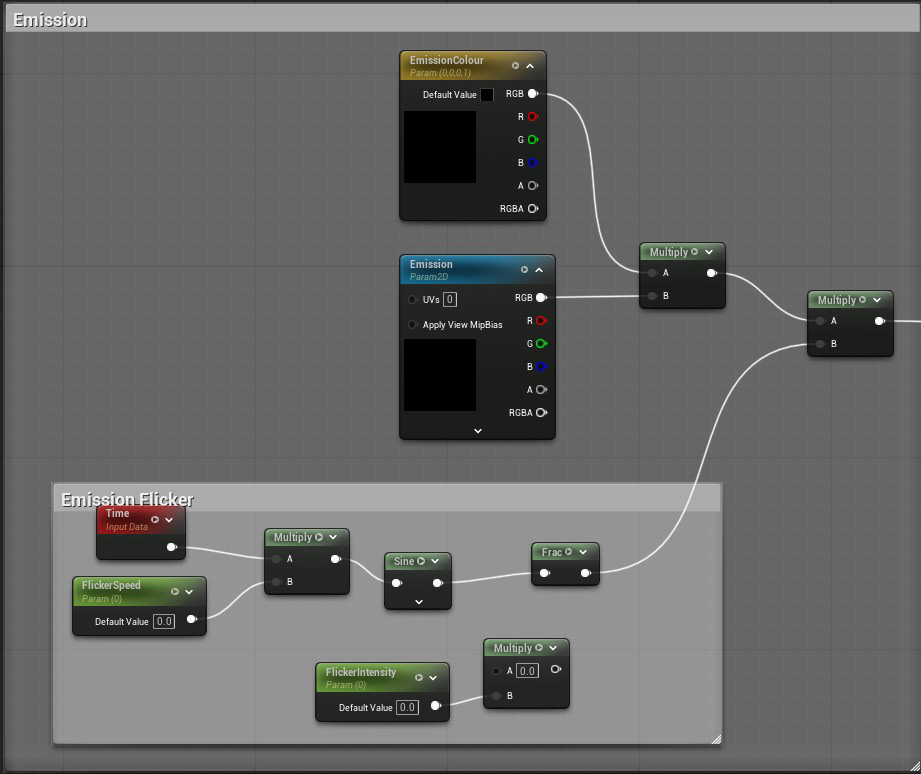
I wanted to add flickering lights to the scene that would make it feel more eerie and run-down. The nodes shown here is plugged into the emission of my material. I found a solution using sine curves, which allowed me to adjust the brightness of the flicker directly on the curve, though the flicker pattern did not reflect that of an LED, in my opinion. By using a clamp function instead and adding an editable emission layer to adjust the flicker brightness, I was able to achieve the results that I wanted. The interval of flicker can be edited in the global scalar parameter.
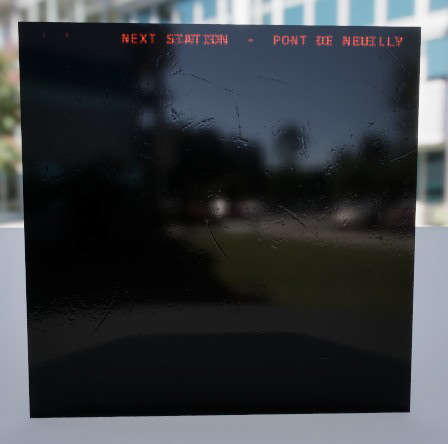
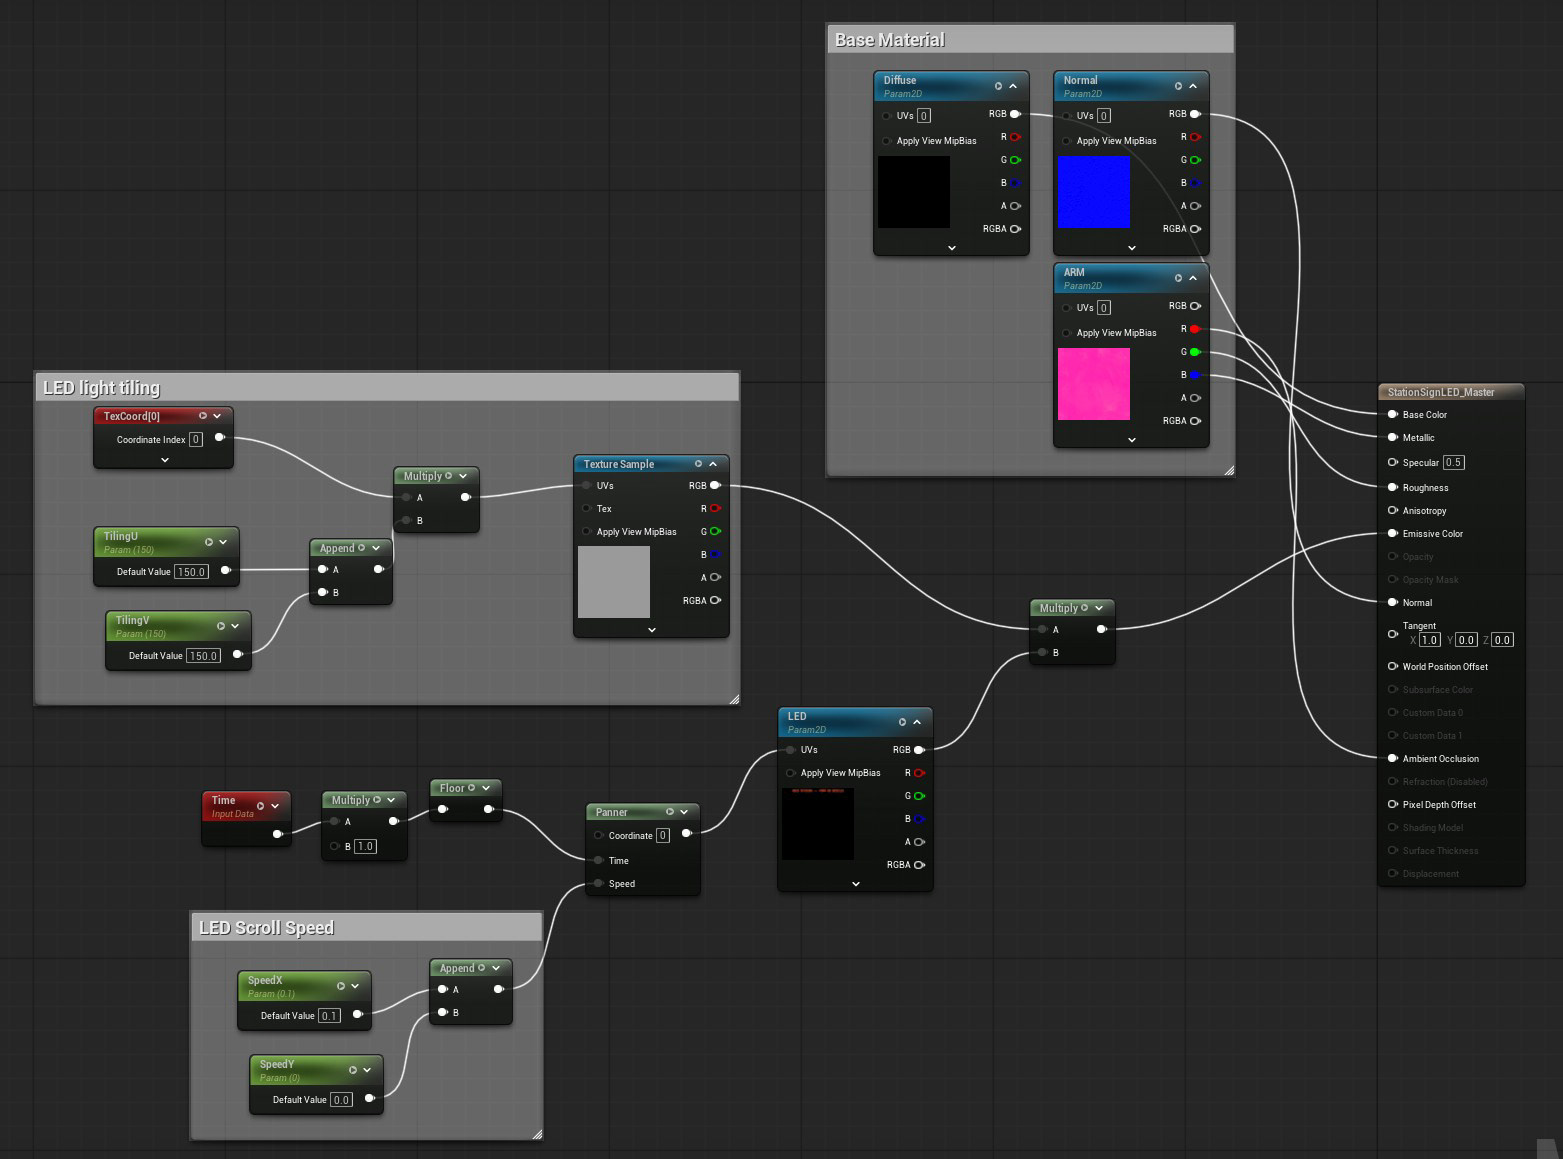
Another Shader to add was the animated LED station signs. I was tempted to animate it in After Effects and export it as a sprite sheet frame-by-frame, but this is Unreal Engine! Where's the fun in that?
The first version of the shader worked with a square graphic that fit the UVs proportionately, but the station sign was an elongated rectangle that should scroll continuously. My second solution was to create a system that allowed me to scale my UVs to the model... well, that was much harder than it looked due to the partial continuous scrolling of the words. So my last solution was to semi-hard-bake it into the base textures so that they align with the UVs.
The first version of the shader worked with a square graphic that fit the UVs proportionately, but the station sign was an elongated rectangle that should scroll continuously. My second solution was to create a system that allowed me to scale my UVs to the model... well, that was much harder than it looked due to the partial continuous scrolling of the words. So my last solution was to semi-hard-bake it into the base textures so that they align with the UVs.

The Last shader to add was the tunnel animation, which was inspired by my lecturer, who demonstrated a continuous scrolling cylinder in class. I wanted the train to look like it was passing other metro trains, hence I edited it into a straight plane on both sides instead.
(realistically, only one side of the windows should be animated. But the additional movement and symmetry added to the composition.)
(realistically, only one side of the windows should be animated. But the additional movement and symmetry added to the composition.)

Animations and VFX
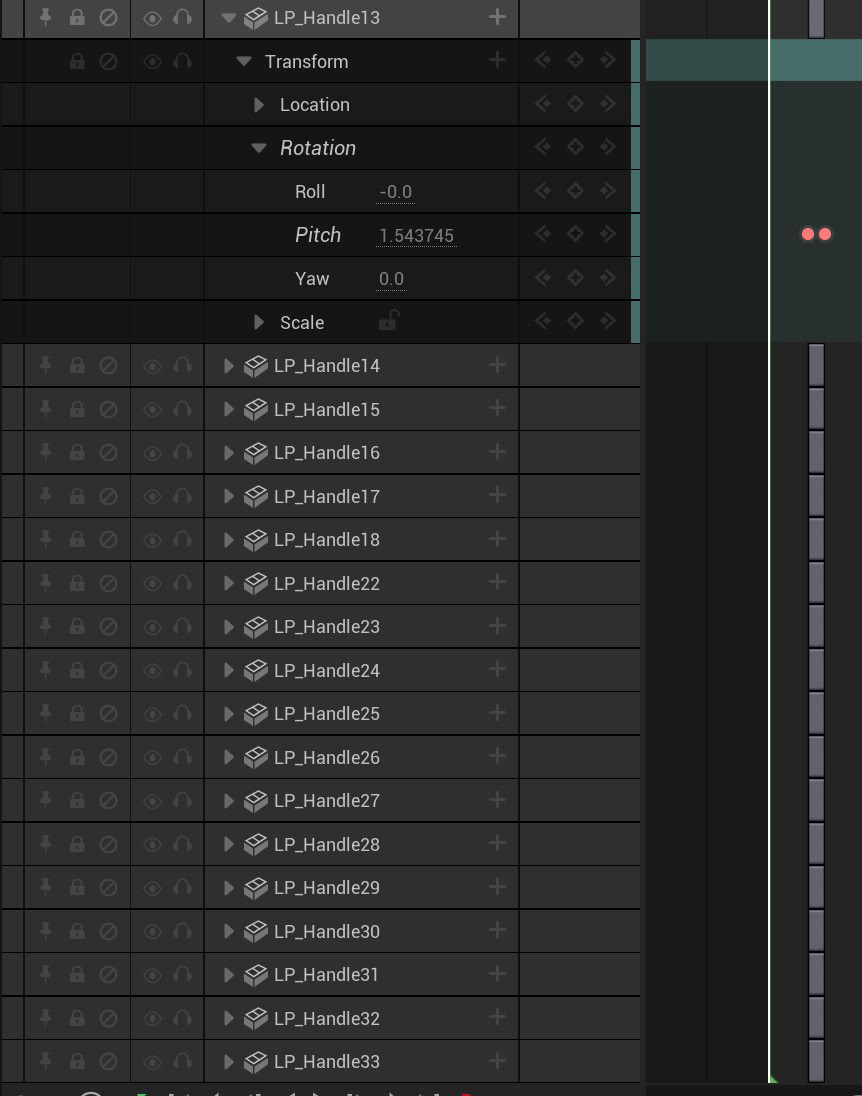
I'm a huge fan of elements that can't be seen but felt, and I thought that adding a subtle swing to the handles would breathe life into the scene. If it looks like it can be animated, it should be animated.
(terms and conditions apply)
(terms and conditions apply)
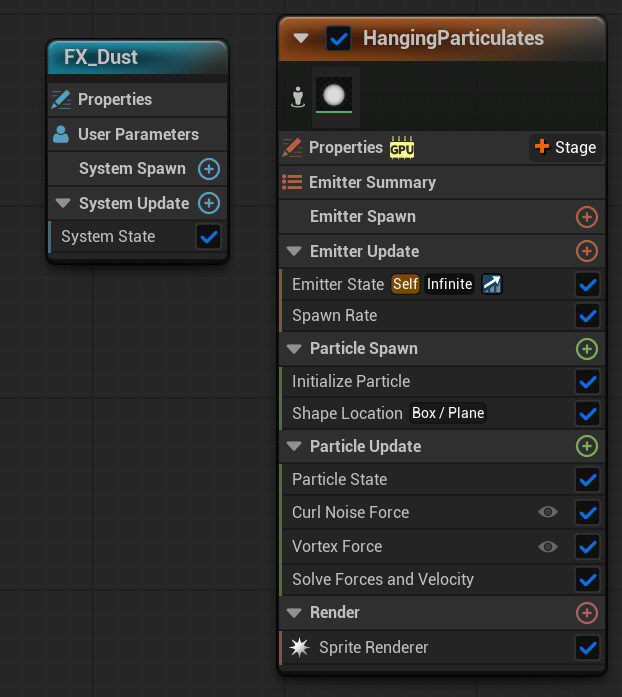
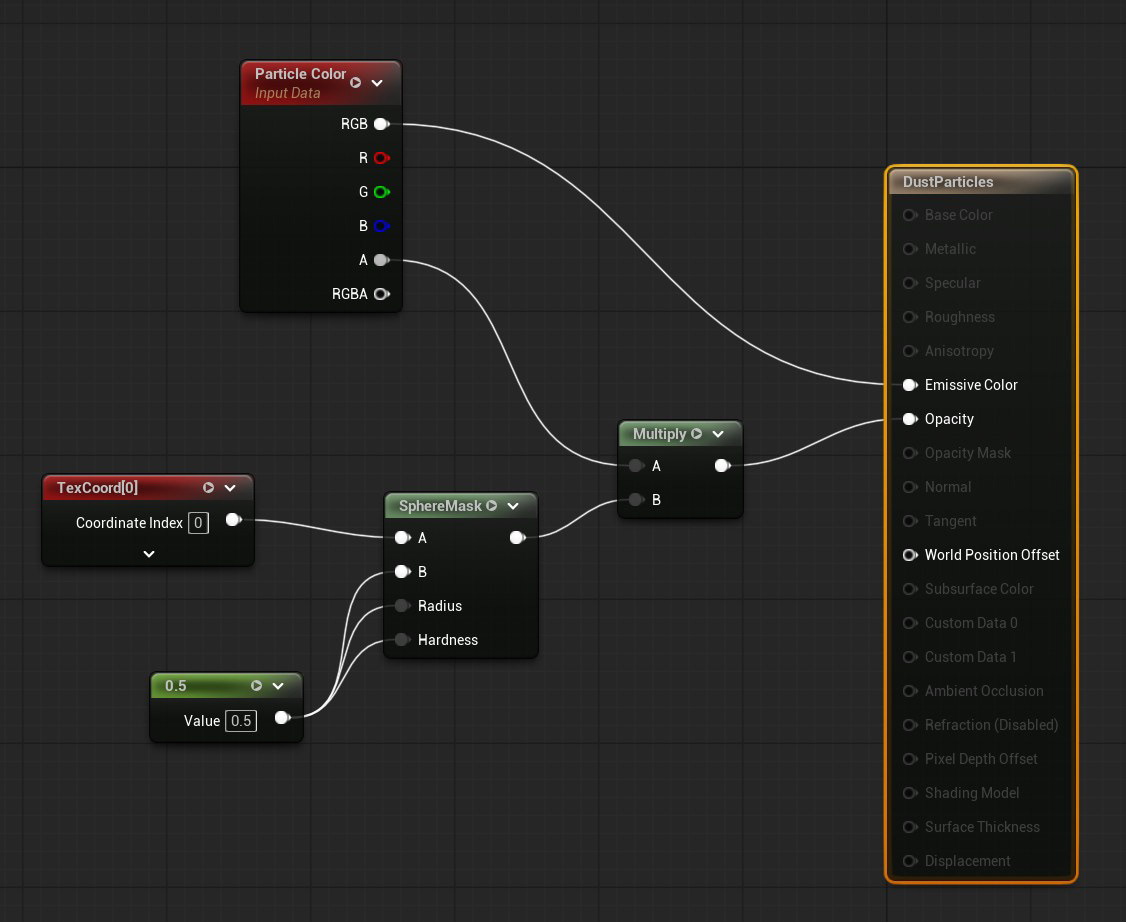
Last but not least is the Post-Processing Volume and Niagra FX for additional movement to simulate dust particles floating in the air. On hindsight, the particles felt a bit too unrealistic, and opinions were mixed.
On one hand, it did add movement and life to the composition. On the other hand, dust doesn't typically fly around and refract light in that way. I decided to prioritise composition and movement over realism as I believed that the other assets were enough to give sufficient realism to a game environment.